Sunday, April 1, 2012

The Garden in April

I think I have turned from the person who gardens for fun to the person who needs to garden in order to stay sane. I am antsy this time of year. There is little to do and I am ready to get things moving. The outdoor chores of the day are not as much as I need them to be and the indoors are starting to feel like a very small wooden (or brick, in our case) box.

We are trying to keep ourselves busy by hovering over our indoor seedlings and building raised beds and cultivating as much soil as we can to fill those beds. Kenny Rogers, our jersey-wooly/angora bunny has been producing an ample supply of fertilizer, and the coffee shop has been filling bucket after bucket with serious amounts of coffee grounds. We mulched up all of leaves from fall, tossed in our vegetable scrap compost, and added some red wrigglers in hopes that it will all break down into a decent amount of good soil. I think we are still going to have to pay for some dirt in the end.

Anyway, a few things are moving along. Our garden is a bit scattered about at our homestead. There is an herb garden on the backside of the porch, a two-tiered butterfly/strawberry garden on the sunny-side of the garage, another tiered bulb and perennial bed along the steps that beans and cabbage and corn starts or seeds get tossed in every now and then, and there are curved out spots here and there with various perennials and veggies... and then there are the rows of raised beds that we add to every year. It's chaos that we reign in with no grace whatsoever.


Nearly everything in our herb garden reseeded itself this year. I guess it never got cold enough long enough to truly kill off the plants. We already have fresh dill, parsley, thyme, mint, lavender, and lemon balm to use. Lucky us!

Until the weather becomes a bit more stable I will continue reading farming memoirs and doing the little things that can be done. This morning I laid out the potatoes on the back porch so the eyes can start sprouting. I am anxious to get them in the ground and then onto our plates.

While you are waiting for your soil to warm up here is a list of memoirs that we've read over the winter (or are currently reading) and would recommend if you are interested in some inspiring books about growing & gathering your own food:

The Dirty Life
The Quarter-Acre Farm
A Householders Guide to the Universe
Girl Hunter
The Rural Life
Barnheart
Fat of the Land
Growing a Farmer
The Feast Nearby

Thursday, March 29, 2012

Kale Chips


Sometimes my kids will not even consider putting a food in their mouth based solely on how it looks. So when they dug right into kale chips I was pretty floored. They love them. They chant for them. They declare them better than potato chips. The moment I put them on their plates they are devoured.


I pick up bags of kale at the farmer's market on Saturday's. Matt at Birdsong Farm has an inspiring little stand stocked with spinach, kale, salad mix, and dried beans. He has red russian kale and white russian kale, which is apparently better for cooking kale chips because of the thicker stems, according to Matt. Who knew? Well we do.... at least now. But, I stick with the red russian kale because I don't want to mess up the good thing we have going on here.

Here is what I used:
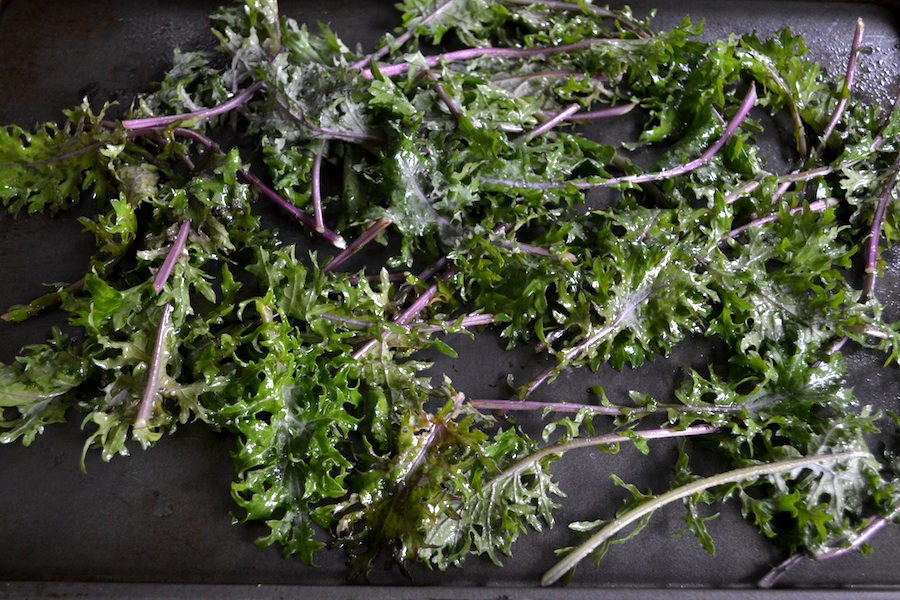
A bunch of red russian kale
1 Tablespoon apple cider vinegar
2 Tablespoons extra virgin olive oil (you could get away with using less)
salt, a hefty pinch
a freezer bag
a baking sheet
some canola oil spray
fresh grated parmesan cheese

Here is what I did:
Pre-heat oven to 300 degrees
I rinsed my kale really well. Kale is like spinach, it grows close to the ground, so an extra little wash isn't going to kill the taste.
Toss the kale in a freezer bag with apple cider vinegar, extra virgin olive oil and some salt. Smash it around until all the leaves are coated.
Spray the baking sheet with a non-stick spray.
Lay the kale out on the baking sheet so nothing is overlapping... at least not too much anyway.

Bake for 15 minutes. Give it a little stir. Bake for another 10-15 minutes, depending on your crispy preference. We like super crunchy kale so I bake it for the full 30 minutes, sometimes even 35.
Sprinkle with a bit more salt and some fresh grated parmesan cheese.


Serve hot. 
Kale is also delicious in soups and salads, and since technically we are in cool weather season (at least for today in Northeast Ohio)  kale is in season right now. So buy it, cook it, preserve it and eat it up!

Enjoy!

Wednesday, March 21, 2012

Homemade Chocolate Chip Ice-Cream


It's 84 degrees in Northeast Ohio. Why not? I mean sure bathing suit season is right around the corner, but instead of worrying about, well... anything. Enjoy this day. This beautiful warm spring day. Have a (small) bowl of ice-cream.

Here is what I used:
3 Cups Cream
1 Cup Half-n-Half
2 Tablespoons Vanilla Extract
3/4 Cups White Sugar
About a handful of semi-sweet chocolate chips
A saucepan
Electric Ice Cream Maker
Glass Bowl and Plastic Wrap
Container with Lid
(Recipe inspired by Basic Vanilla Ice-Cream Recipe from the book Home Dairy by Ashleigh English)


Here is what I did:
In a saucepan warm the half-n-half and cream over medium heat until little bubbles appear around the edges of the pan.
Remove from heat.
Stir in sugar until completely dissolved.
Pour mixture into a glass bowl and let it cool a bit.
Then stir in your vanilla extract.
Cover with plastic wrap and refrigerate over night.
The next morning pour mixture into electric ice cream maker and when the ice-cream starts to pull together and look nice and fluffy pour in your chocolate chips.
Process the ice-cream according to your machines directions. Ours starts to putter and act like it is choking on something.
Spoon your ice-cream into a container with a lid and place in the freezer for 6 to 8 hours. This recipe makes about a quart.
Enjoy after a yummy chili dinner and then go back outside and putter around your yard.

Enjoy!

Sunday, March 18, 2012

Bread

We eat bread.

We do not eat bread at every meal, or even every day of the week.  We eat bread because life is too short to deny yourself the warm crusty goodness of fresh baked bread...and from what I have learned about denial, it always comes back to bite you in the ass later anyway.

Bread is one of the oldest foods. It has kept generations of families from starving to death. It is simple. It makes me feel GOOD and that is very important. I want to eat healthy, make good choices for my family and I want to enjoy every little piece of the process that goes into feeding my children.

I make a big batch of bread every 7-14 days depending on how things are going. Sometimes I make bread for the shop. But mostly, I make it for us. I mix two really great recipes & methods together to do what we do. One is the famous No-Knead Bread Recipe and the other comes from the book Artisan Bread in 5 minutes a Day. I highly recommend this book. It is full of great bread recipes and methods.  By using recipes and methods for both I get a simple bread that is easy for my little ones to chew and the adults still get the yummy crust we crave.

Here is what I use:

12.7 Qt plastic bin with lid
6 Cups cold water
3 Tablespoons active dry yeast
3 Tablespoons salt
13 Cups of flour
cast iron dutch oven
(recipe from Artisan Bread in 5 minutes a Day)

Here is what I do:
First, I pour 6 Cups of cold water into the bin, then I add the yeast and salt and give it a little stir.
Then I add 13 Cups of flour and stir it a bit, just to coat all the flour.
Next I plop the lid on top, but I do not close it up tight. Let the dough rise overnight.


The next morning I preheat my oven to 450degrees. I put the dutch oven in while the oven preheats.
Next I pull off about a grapefruit size mess of dough and work some flour into it. Sprinkle the top with flour, then work the flour in by folding it under over and over again. Cut some slits in the top. I let the dough rest while the oven preheats.

Once the oven is preheated I lightly dust the bottom of the dutch oven with flour or cornmeal (whatever I am in the mood for) and then place my dough in. Put the lid on.
Bake for 25 minutes.
After 25 minutes I take the lid off and let it bake for another 12-15 minutes. This varies depending on the size of the dough I use.
I slide the bread out using a long wooden spoon and place the warm bread on a cooling rack to rest for about an hour before cutting into it.
Store the dough in the refrigerator. I have left mine in there chilling for up to 2 weeks.  


This recipe makes about 8 loaves of bread. The loaf size is perfect for a family of 4-5 to enjoy with dinner or with eggs at breakfast. We use it for sandwiches, french toast, as a little dessert when we spread some apple butter over it. It's super easy. And it's super delicious.


Enjoy!

Sunday, March 4, 2012

How to Make Yogurt

We have a few things we make on a regular basis. When we are lucky we can knock it all out on a calm Sunday morning. Most of it will last our family of 5 about a week.

Yogurt, granola, 'mother' batch for bread, mozzarella, butter, buttermilk, and sour cream.


Our 7 year old swears that 'mama yogurt' is the best she has ever eaten and scrunches her nose up at commercial yogurts. (WIN)

Here is the math:
$6.18 for a gallon of organic milk
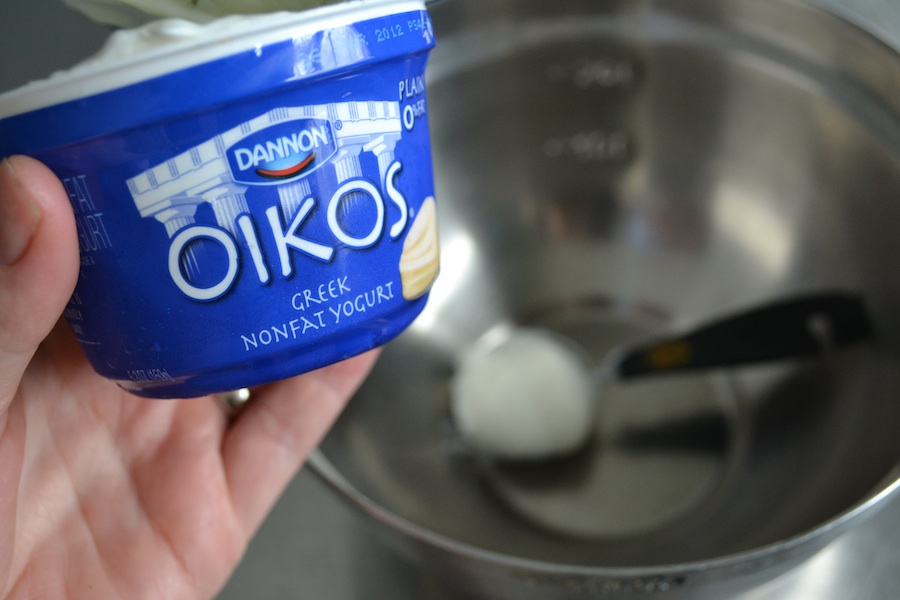
$1.00 for 5.3 oz of greek yogurt
= 0.45 cents for 16, 8 oz jars of homemade yogurt


Here is what I use:
4 Cups milk
3 T of greek yogurt
double boiler
thermometer
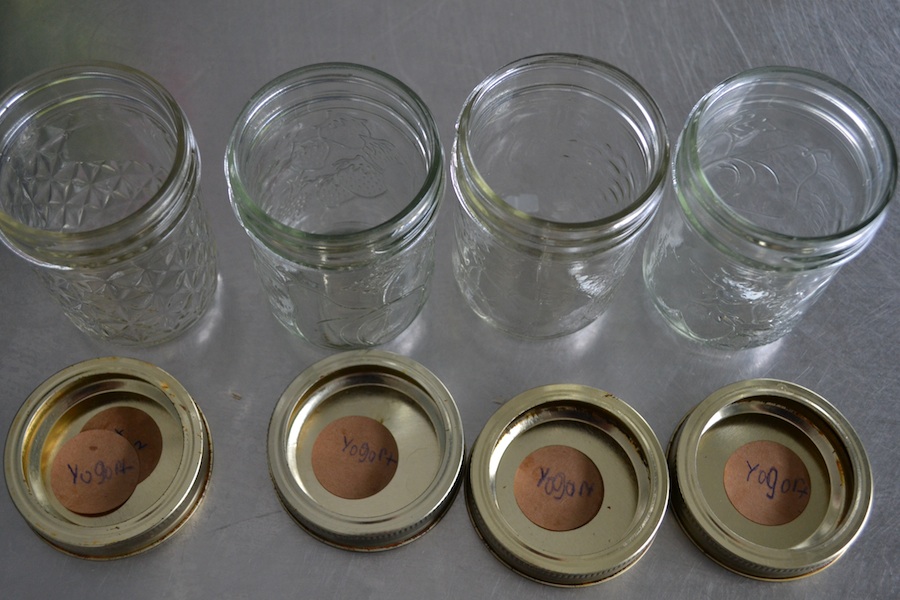
4 - 8oz jelly jars with lids & bands
crockpot

Here is what I do:
1. Pour a bit of water in the bottom pan of your double boiler and 4 cups of milk in the top pan, set to a medium heat.

2. Preheat crockpot.
3. Place a thermometer in the milk and heat to 180degrees.


4. Remove milk pan from heat and let it cool to 110degrees.


5. Spoon 3 T of greek yogurt in a medium mixing bowl and whisk in your milk.


6. Pour milk mixture evenly into jelly jars. Place lid and screw bands on.


7. Place jelly jars in preheated crockpot.


8. Turn crockpot off and let the yogurt sit overnight or for about 8 hours.
9. Label and refrigerate.


The yogurt stays good for about 2 weeks, but it never lasts that long at our house.

Enjoy!

Saturday, January 14, 2012

Overthinking a simple salad

I think too much. Not in a good way, like I'm always sitting around pondering DeCartes, but, rather, I  overthink things that really don't need my gray matter to put in extra time. Food is one of those things that I overthink--not the making of food so much as how I consume food.

I was a vegetarian for about a decade (until the night I fell asleep watching No Reservations and dreamed I was eating lamb. I woke up from that nap an omnivore--a voraciously hungry omnimore). I wasn't a vegetarian for ethical reasons--I think animals should be treated with respect while they're alive, but I have no problems with humans consuming flesh; I told others that I didn't eat meat for health reasons, but my limited diet wasn't well-maintained and I usually felt tired and run-down, not healthy. Truth is, I was a vegetarian because I needed to impose order in my life at a time when my mental health was spinning a bit out of control--the narrow parameters of vegetarianism were perfect for granting me a false sense of control while I moved through a world that I didn't understand in the least bit.

I eat meat now, and I love it, but I still fall back on old habits imposing order on the way I eat. It's not compulsive and totalitarian like my adopting vegetarianism--in fact, I think the end result is pretty healthy.

Here's an example: On Friday nights, Carla and I do burger night. It's the only night when the big kids don't eat with us, so we go nuts making the most gourmet burgers we can think up. (We'll definitely visit burger night as a topic here soon...they're just so good that we forget to take pictures of them until after we've cleared our plates.) On Saturday mornings, I have a burger night guilt hangover. I know it's a holdover from my years as a vegetarian, but I always feel the need to eat an outrageously healthy lunch. So today, when my stomach started rumbling and the kids sat down to eat their fish sticks, I started grabbing produce out of the fridge to whip up something good.


This is what we ended up with--a couscous salad made with apples, celery, carrots, grapes, onions, in a blueberry vinaigrette. The couscous base was an easy choice, as we had some left over from dinner the other night. I whipped up the vinaigrette using blueberry juice from some frozen blueberries I dethawed in the microwave and gave the kids. Oh, and I tossed some celery leaves on top after I plated it because they look nice. (Don't they look nice?)

Ingredients: couscous; apples, celery, carrots, grapes, onions (chopped and/or sliced). For the vinaigrette, mix blueberry juice; apple cider and olive oil at a ratio of 1:3; and salt and pepper to taste--just dump it all into a lidded container and shake it up, then pour it over your chopped produce, stir it up, and plop it onto the couscous. Oh, and then toss some of those pretty celery leaves on there. Easy peasy.

While I've got you, I need to take a second to sing the praises of this little machine--it's an old-fashioned apple peeler/corer/slicer and it makes stuff like this (not to mention apple pie on a whim) super easy. You can get one on Amazon--they're pretty cheap and they are awesome. Go get one.


Thursday, December 8, 2011

The philosophy of potatoes

Despite what could be accurately described as a "cautious demeanor," I've learned to accept that there are some risks in this world worth taking. Our kids, for one (or three). Quitting my desk job to start our own business for another. Making hash browns.

Hash browns are one of those things I've never been able to get right because I never bothered to learn how to make them right. I maybe tried twice and, while the results were still tasty (I mean, a fried potato is a fried potato), the resulting mess of starchy mush was in no way a proper "hash brown."

Last night, as I was holding my baby boy and watching some "Buffy the Vampire Slayer," I started thinking about future breakfasts in this hypothetical farm on which we've hung both our hopes and dreams. We've taken some mighty strides away from boxed cereals and other processed breakfast fare, with homemade granola being our lazy-morning meal, so the next step in our goal to gain near-complete control over our diet is growing our own food--we're deadly serious about having egg-laying chickens someday, and our limited success in our little gardens superseded the failures and made us want to grow way more (if not all) of our own fruits and vegetables. Homegrown potatoes fed us for a few weeks this summer, so my thoughts turned to a breakfast of eggs and potatoes...hash browns.

My wife and I are learning how to cook--it wasn't a skill passed down to either of us from our parents, so we're finding our own way. That means we burn some meals, some dishes turn out painfully bland, and we sometimes sit down to happy surprises--you want every meal to delight the palette, but learning curves don't tend to work like that. But a recent experience with omelets, of all things, taught us that one little word in an online recipe--"cover," in the case of omelets--can nullify all previous failures and put a new dish into regular rotation.

I mean, it makes sense that you'd have to get the moisture out of potatoes if you want them to stick together and form a patty. Or does it? I don't know, cooking doesn't make that much sense to me, but when I Googled "hash browns" and read that you have to squeeze that water out--well, I can follow a direction. This morning I popped the shredder attachment onto the mixer (my current obsession with slicing and shredding foodstuffs in that thing also played into the decision to make hash browns, and not just a little bit) and, following directions from the Internet, I squeezed the hell out of those potato shreds before tossing them into the pan of oil. And it worked--they surely weren't the best hash browns ever made (and not just because I didn't have any lard on hand), but they were the best hash browns I've ever made.

I'm trying really hard to avoid the metaphor "gotta break a few eggs to make an omelet," but, you know...you do. You have to mess up to appreciate finally getting something right, have to go through lean years to appreciate when times are good, have to know a kid's cry to really cherish his or her laugh. I'm trying to stay really aware of this right now, as we ready ourselves to start a new chapter in our life--turning the page on years of failure and successes, diving into a whole new set of missteps and (hopefully) accomplishments. Broken eggshells, hard-won omelets, and pretty okay hash browns.