Monday, November 7, 2011

Oh my

As much as I love the gorgeous piece of machinery that is our new Kitchenaid mixer, I can certainly see a down side to owning it. It's just so easy, on a cloudy, chilly night like tonight, to think, "Oh, man, I want some brownies" and then just make some brownies.

Here's how it went down: I googled "brownie recipe". I saw "Best Brownies" recipe. Then, a few minutes and a messy flat beater later, I had a pan of brownies in the oven. And who could blame me? It's so easy.

But, earlier today, I saw a picture of homemade whipped cream and I was like, "I should make some homemade whipped cream." So while the brownies were baking, I pulled out the whisk attachment, stole a lil' bit of Carla's heavy cream she uses to make butter from the fridge, and whipped up a half batch of whipped cream. And, oh my, I have to say it was a fine decision.

You know I licked this thing clean one second after the picture was taken.

Just a bowl of whipped cream, waiting patiently.

This is too easy. You probably already know how to do this.
1. A cup of heavy cream goes into the bowl. Whisk it until it starts to get thick.
2. Drop in 2 tablespoons of powdered sugar and 1/4 teaspoon of vanilla extract.
3. Whisk until peaks start to form, but not too long or fast or you'll end up with butter. I whisked on 8 for about a minute and the results were perfect.

Oh my, yes.

Saturday, November 5, 2011

Whip it

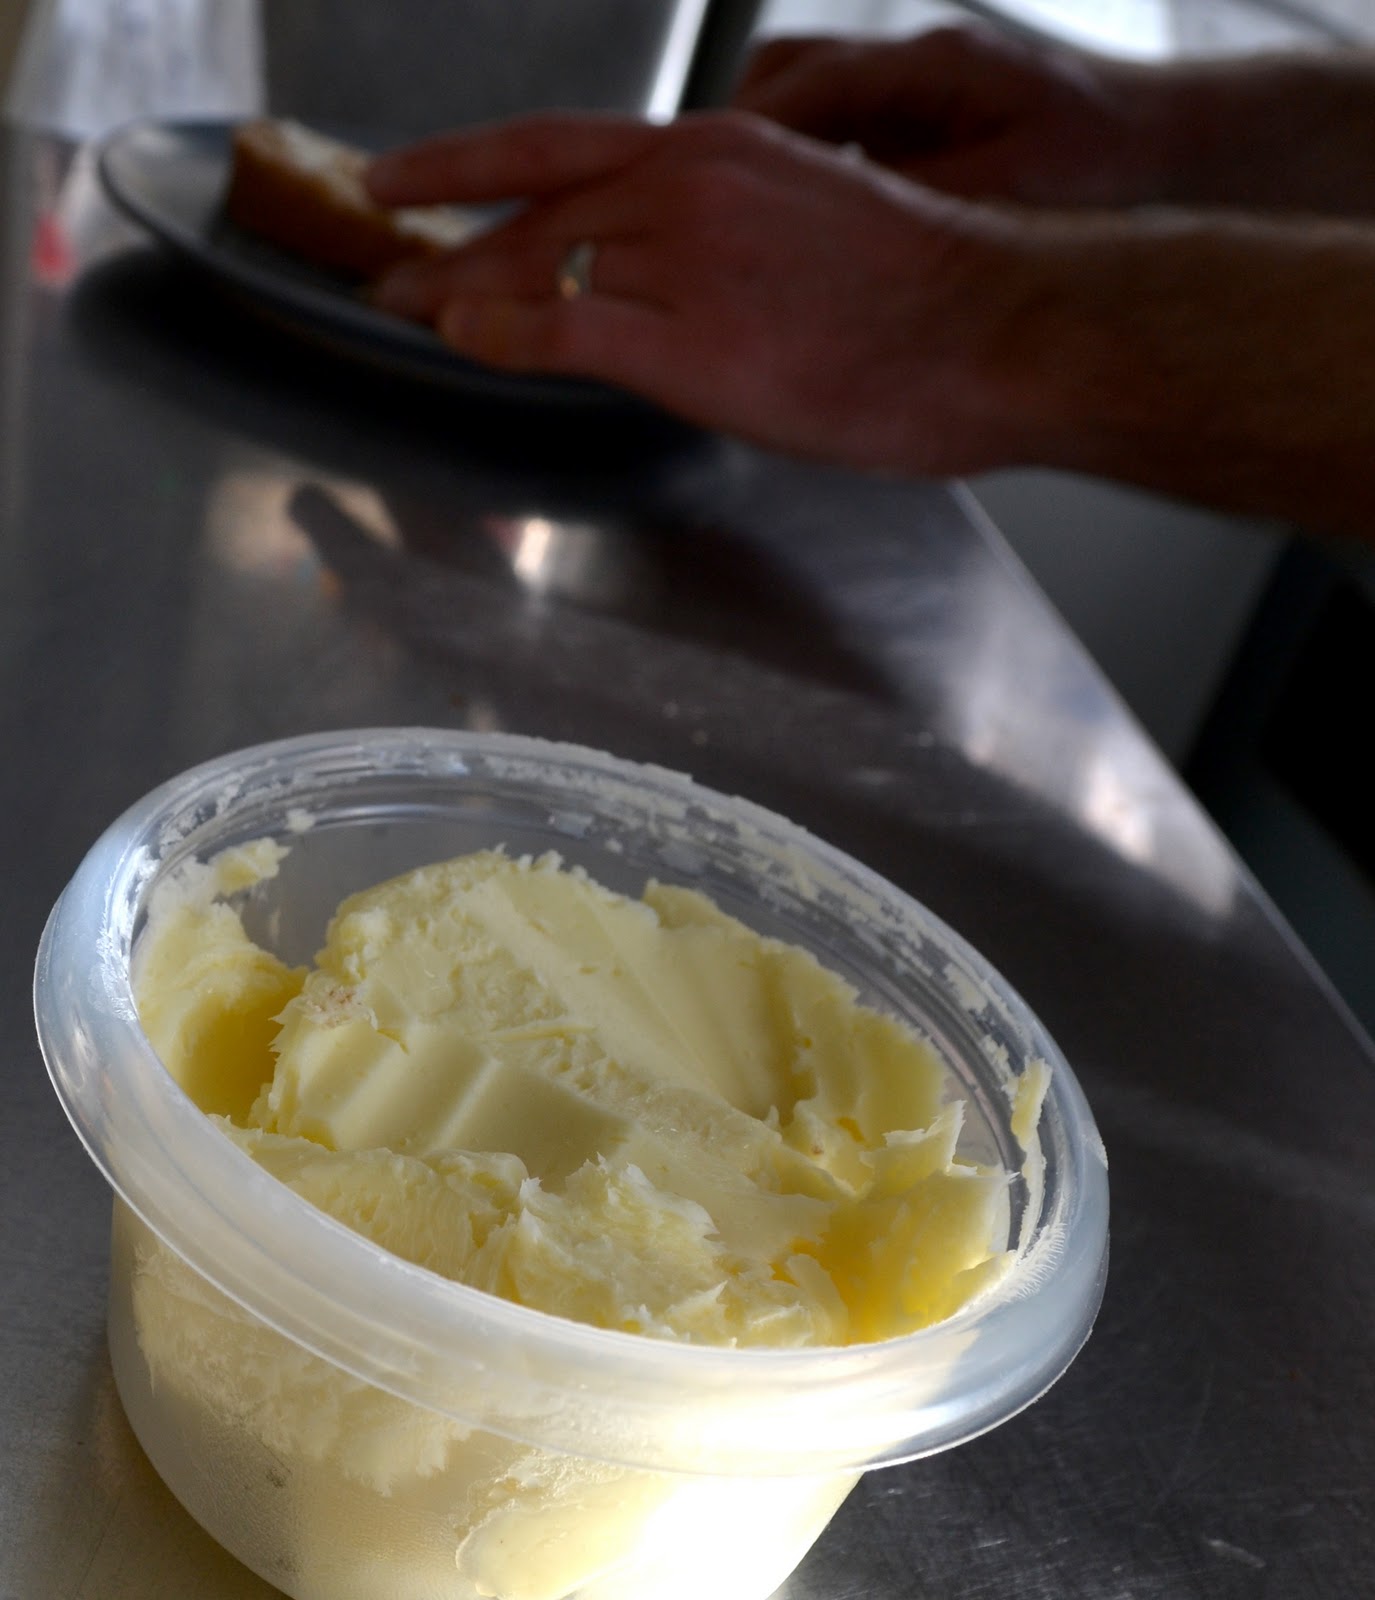
Whipped butter in 4 minutes? Don't mind if I do.


I don't know if you heard, but we won a KitchenAid mixer! I am already smitten with her beauty and power. She needs a name because I may love her more than the dog.

Butter

ingredients
1 pint heavy cream

directions
1. Mix heavy cream in stand mixer on medium speed for about a minute. 
2. Bump up the speed to high for another 2 to 3 minutes. 
It's ready when the butter forms together and buttermilk separates. 
3. Strain butter from buttermilk. 
4. Rinse butter until water runs clear. 
5. Place butter on a cutting board and fold over and over pushing out the remaining liquid. 
6. Refrigerate

Friday, November 4, 2011

Good Bacteria

For my birthday, six months ago, I bought the book Home Dairy by Ashleigh English. I read it cover to cover at least twice but didn't try a single recipe...until yesterday.

Yogurt is so good for you and so easy to make.  I cannot see us buying commercial yogurt ever again. Unless we eat everything up and need a new starter.

Below is exactly what I did as a novice yogurt maker, and our yogurt came out perfect. It was thick, and it balanced the tangy and sweet flavors wonderfully.


On the next go round, I may strain the yogurt in a cheese cloth for an even thicker consistency. I mixed in some peach butter with one serving and it was AMAZING!


Yogurt

ingredients
3 Cups 1% milk
2 Tablespoons honey-flavored Greek yogurt

directions
1. Heat milk in a double boiler until it reaches 180 degrees.
2. Pre-heat slow cooker on low.
3. Remove milk from heat and let cool to 110 - 115 degrees.
4. Stir in yogurt until well mixed.
5. Pour mixture into 3 jelly jars, seat lid and tighten rim.
6. Turn slow cooker off and place jars of yogurt inside and cover with lid.
7. Let sit overnight.
8. Refrigerate and eat. Use for up to two weeks.

One of the best parts of this process was explaining to our 7-year-old daughter the difference between good bacteria and bad bacteria. Her interpretation went something like this: "There are two kinds of bacteria. One is the kind that eats dead birds and one is in yogurt that we eat." I'll take that. If she one day wins a Nobel prize for her work with bacteria, I will look back on our first yogurt making days with a smile. 


I highly recommend giving Ashleigh's book a read.  I hope to try out butter and mozzarella cheese sometime this week!

Thursday, November 3, 2011

Apple Butter

I was going to make applesauce, but I left it in the slow cooker a little too long...so now we have apple butter.


Apple Butter

ingredients
about 30 apples, peeled, cored and chopped.
2 Cups white sugar
1 Tablespoon cinnamon
1/4 teaspoon freshly grated nutmeg


directions
1. Place about 20 chopped apples in slow cooker with cinnamon and nutmeg
2. Cook on low for about 8 hours
3. Pour mixture into food processor and blend until smooth but not too liquidy
4. Add the remaining chopped apples and sugar to the slow cooker
5. Continue to cook on low for another 3 to 4 hours
6. Again, pour mixture into food processor and blend until smooth
7. Cool overnight in the refrigerator
8. The next morning, cook on low for another 6 to 8 hours with the lid half off to let the steam out
9. Sanitize jars and lids
10. Fill jars with warm apple butter, leaving about 1/4 inch of space at the top
11. Wipe the rims of the jars with a clean washcloth
12. Seat the lid and tighten the ring
13. Process in a water bath for 15 minutes
14. Lift them out of the canner and let sit undisturbed for 24 hours 

I tend to process things longer than instructions call for because I'm a bit of a Nervous Nelly when it comes to canning. I'm still very much a novice and I don't need any botulism in my life.

Safety Tip: Make sure your lids are sealed by pressing in the center (gently) with your finger. If it bounces up and down it is not sealed. Refrigerate it (about a month) or freeze it (4 to 6 months)

Wednesday, November 2, 2011

Few & Cheap

When I look through recipes, I look for two things:

1. Few Ingredients
2. Cheap Ingredients


I have tried so many recipes over the years. Some recipes are fantastic but laborious. The ones that stick with me--the ones that become a part of our lives--are the ones that I can remember and that I can afford. So in an effort to keep our lives and meals simple, we collect and adjust recipes to fit our tastes, patience, and budgets.

Here is my favorite recipe, adapted from the back of a flour bag. I make this once or twice a week and it is unbelievably good.

Honey-Wheat Bread

Ingredients
2 packages regular active dry yeast
1/4 Cup Warm Water
3/4 Cup Honey
2 T Butter
2 teaspoons Salt
1 Cup Oats
3/4 Cup Flaxseed Meal
2 1/2 Cup Warm Water
4 Cup Whole Wheat Flour
2 to 3 Cup All-Purpose Flour
1 T Cooking Oil

Directions
1. Dissolve yeast in 1/4 Cup Warm Water.
2. Mix honey, butter & salt together in a large mixing bowl. Add 2 1/2 Cups warm water.
3. Beat in wheat flour, oats & flaxseed until moistened. Add in dissolved yeast, and stir with spoon.
4. Add all-purpose flour until dough pulls away from the side of the bowl and your dough is no longer sticking to your fingers. Knead dough 5 to 10 minutes on a lightly floured surface.
5. Cover dough with a towel and place in a lightly oiled bowl. Set in a warm spot *see tip below* to rise for about an hour.
6. After the dough has doubled in size, cut it in half. Grease two loaf pans and place dough in bread pans.
7. Cover dough with a towel and set in a warm spot for about 30-45 minutes.
8. Pre-heat oven to 375 degrees. Bake for 30 minutes. Reduce oven temperature to 350 degrees and bake for another 10 to 15 minutes or until loaves sound hollow when you tap on them. Let cool and enjoy.

Makes 2 beautiful loaves.

Tip *Heat 1 Cup of Water in Microwave for 60 seconds. Then place dough in microwave alongside your warm water. It's a perfect warm, moist place for your dough to rise and no little hands will come back and poke at it.*


Monday, October 31, 2011

And we're back!

It's been a little while since either one of us updated this blog, hasn't it? So sorry, we've been distracted.

Controlling gestational diabetes through diet is a commendable feat, and the fact that my wife did it with such fierce determination was truly impressive...but it kind of killed food for us for a time. You know what you eat when you're on a diabetes diet? Meat. So much meat.

I have a reformed vegetarian's pure and holy love of animal by-product, and we're beyond lucky to live close to Duma's meat market (where we were able to buy a 50-lb freezer pack of local meat), but chewing on sinew does get tiresome, especially when there are dietician-imposed limitations on what you can pair with your pound of flesh.

Good--no, great--news is that our little guy is here, he's healthy, and the gestational diabetes disappeared the moment they plopped him into our arms. We didn't jump right back into cooking, of course--having a newborn is a full-time job, so we lived off of pre-made, frozen meals for a few weeks. But, as the blog title up there suggests, we're back!

You know what you can't eat much of when you're diabetic? Bread, especially delicious, homemade, carb-tastic breads. So, since delivered of her temporary condition, my wife has been on a bread-making rampage. She took a bunch of pictures and has promised to write up a post here about pulling steaming loaves out of the oven, so I'll leave the delicious details to her, but suffice it to say we are in bread heaven right now--even the dog couldn't resist a cooling loaf and got himself banished to the back porch yesterday.   

Our little family (well, we're not so little anymore...5 and counting) is rushing headlong toward one of the more ambitious goals we've ever had--self-sufficiency. Or less grocery store-sufficient, at least. We've been looking at farms and dreaming about the day we can have some acreage and a hobby farm of our own but, for now, we're struggling to make things grow out of a ground left soggy by a year of near-record rainfall. Tomatoes split and blighted, the cucumbers turned yellow right out the gate...disappointing, yes, but the broccoli did great, our Kentucky Wonder green beans kept our plates full all summer, jalapeños piled up faster than we could use them.

With frost setting in this week, though, we just weren't ready to watch our remaining crops freeze and die. So, taking a nudge from the ever-wonderful gardenfork.tv, we built a coldframe for our raised bed containing spinach, carrots, chives, and quinoa, and we got it on just in time--this week we saw two hard frosts, but the spinach didn't know what was going on outside and actually doubled in size.

Peek-a-boo!

    It's just some dollar furring strips, three half-inch pvc pipes, and some plastic sheeting--maybe $20 worth of stuff. You should build one for your raised bed, too:


Oh, and, OH! Big ups to food blog A Spicy Perspective, who ran a giveaway for a Kitchenaid mixer with some awesome attachments that we WON. The missus and I are beyond excited to get this lovely piece of awesome into our kitchen (we chose "pistachio" for color)--we are going to make so much good stuff with it.

Wednesday, August 3, 2011

Basil & Blueberries

This past weekend we drove out to our favorite blueberry farm, Wintergreen Tree Farm,  and three generations of our family picked somewhere close to 12 pounds of blueberries in about an hour and half. That's how long it took for the sun to melt our little ones into whiny exhausted tyrants.  It was worth it. We brought 7.5 pounds of freshly picked blueberries into our kitchen and began rinsing, de-stemming and drying. Now we have two huge bags of blueberries lined up in the freezer that will make January not seem so dull. One bag we'll use for canning blueberry syrup and preserves the other will be nibbled on with oatmeal, cereal, and pancakes throughout the winter.


Basil is in and it is in abundance! While our little herb garden supplies us with enough to pick leaves here and there for meals, it certainly didn't provide enough to make anything wonderful like, pesto. However, my mother-in-law's herb garden is overflowing with giant basil... and she is a good sharer.


Here is my recipe for pesto:
  • 1/2 cup walnuts
  • 5 to 6 cloves of garlic
  • 3 to 4 cups fresh basil leaves, packed
  • 1 teaspoon sea salt
  • 1 teaspoon freshly ground black pepper
  • about 1 1/2 cups olive oil
  • 1 cup fresh grated Parmesan
  • 1/3 cup fresh chives